2024-05-31T09:01:00
(BPT) – While you probably know your deck needs waterproofing, did you know many other materials outside your home like concrete, masonry and fabrics also need protection? To help keep exterior parts of your home in good condition, waterproofing is key. Here are tips from the experts at Thompson’s WaterSeal to help safeguard your home.
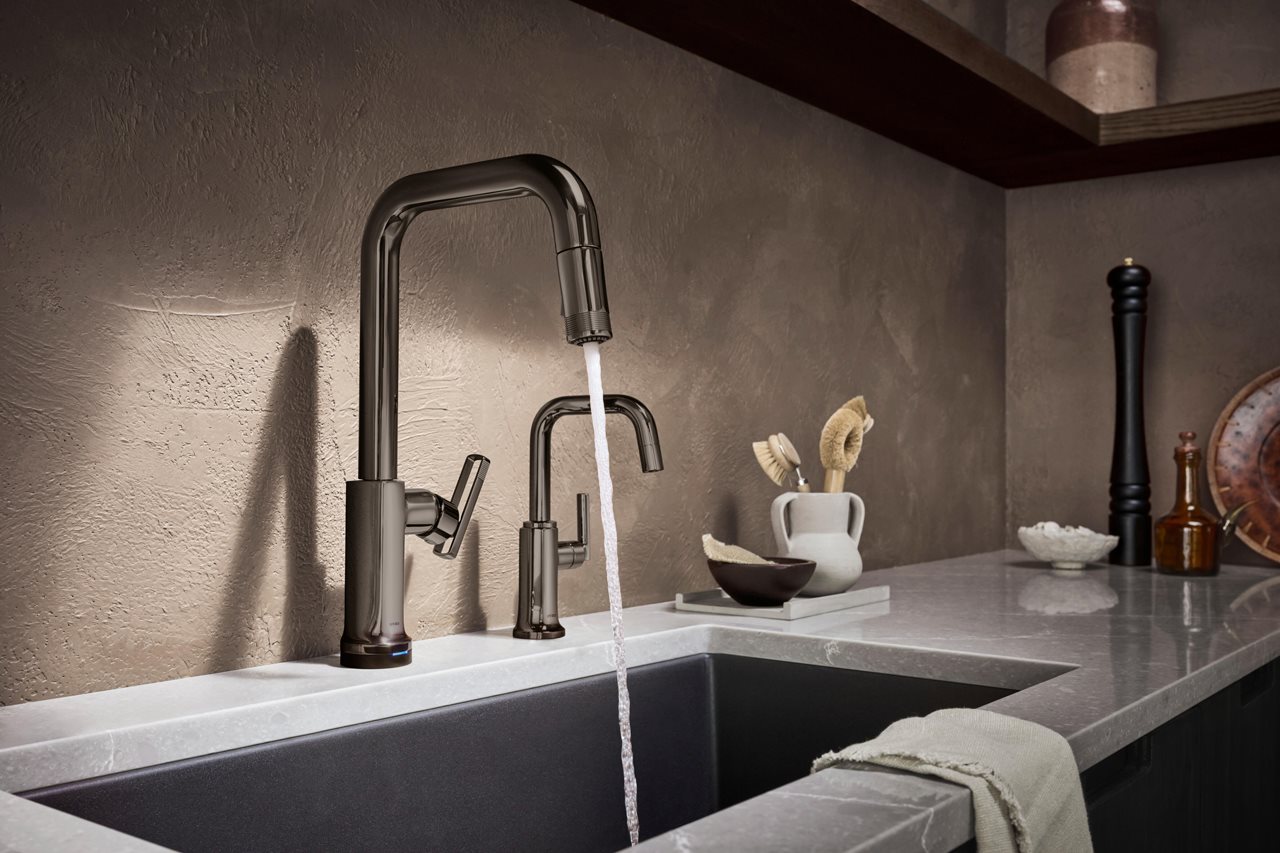
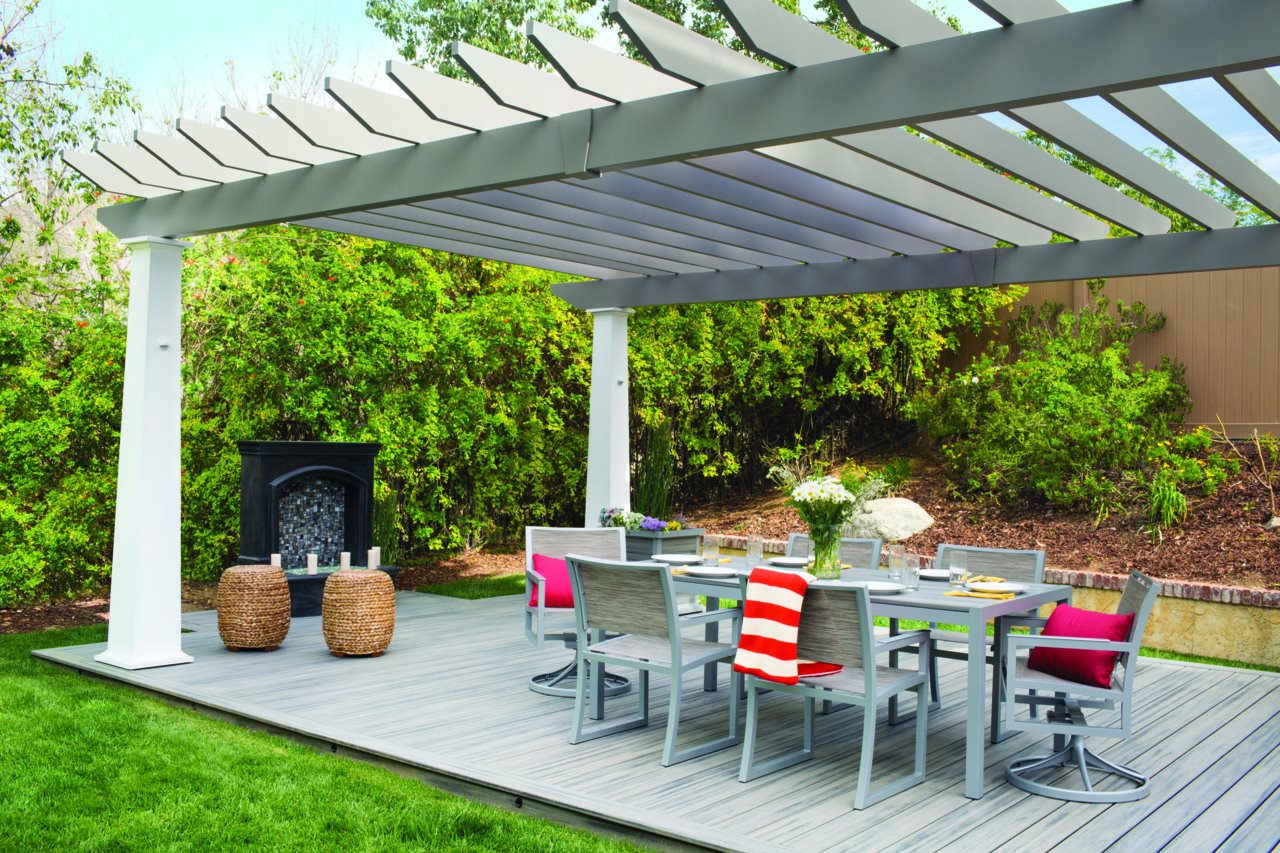
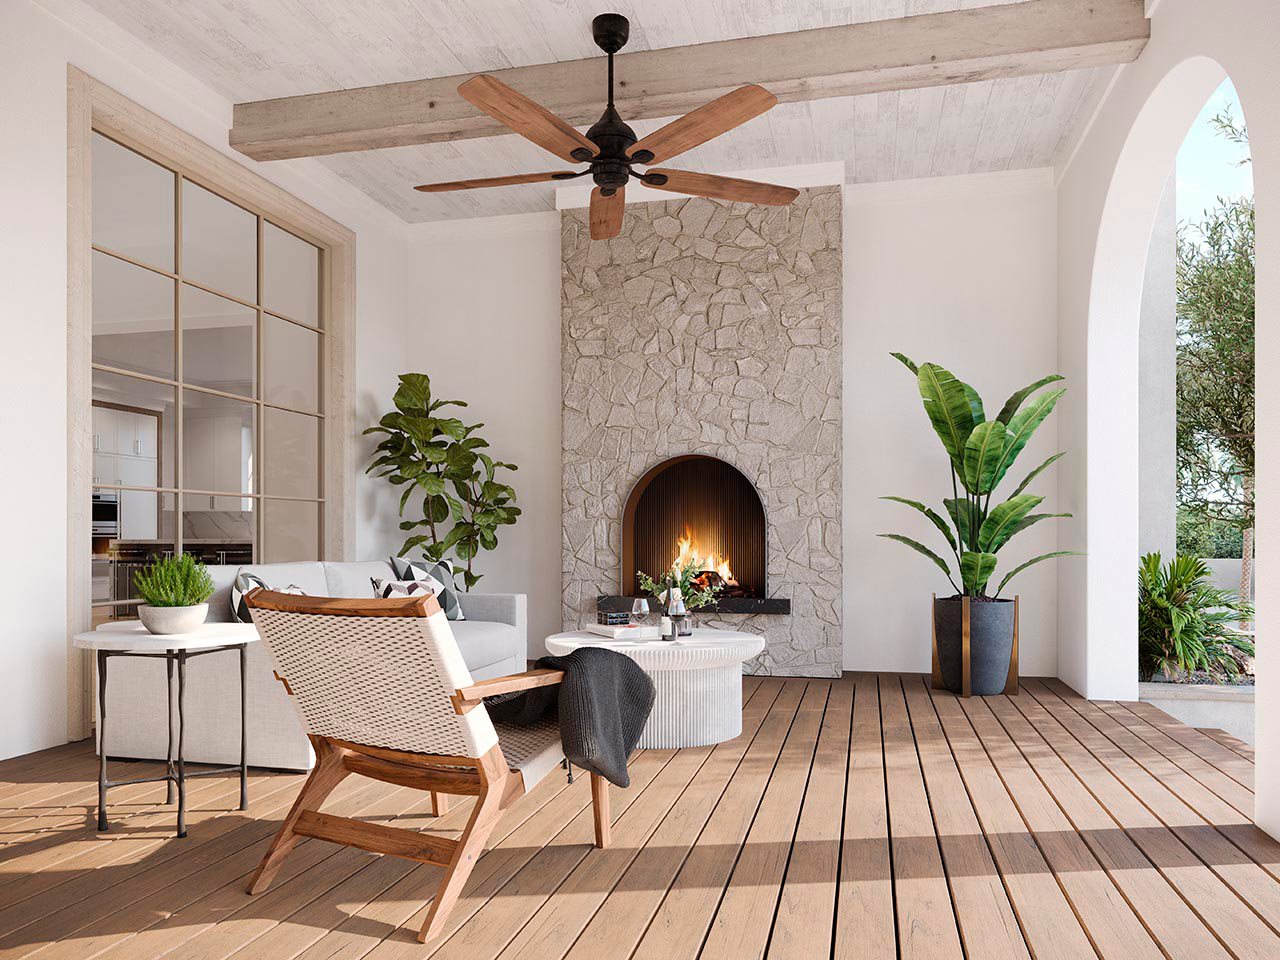
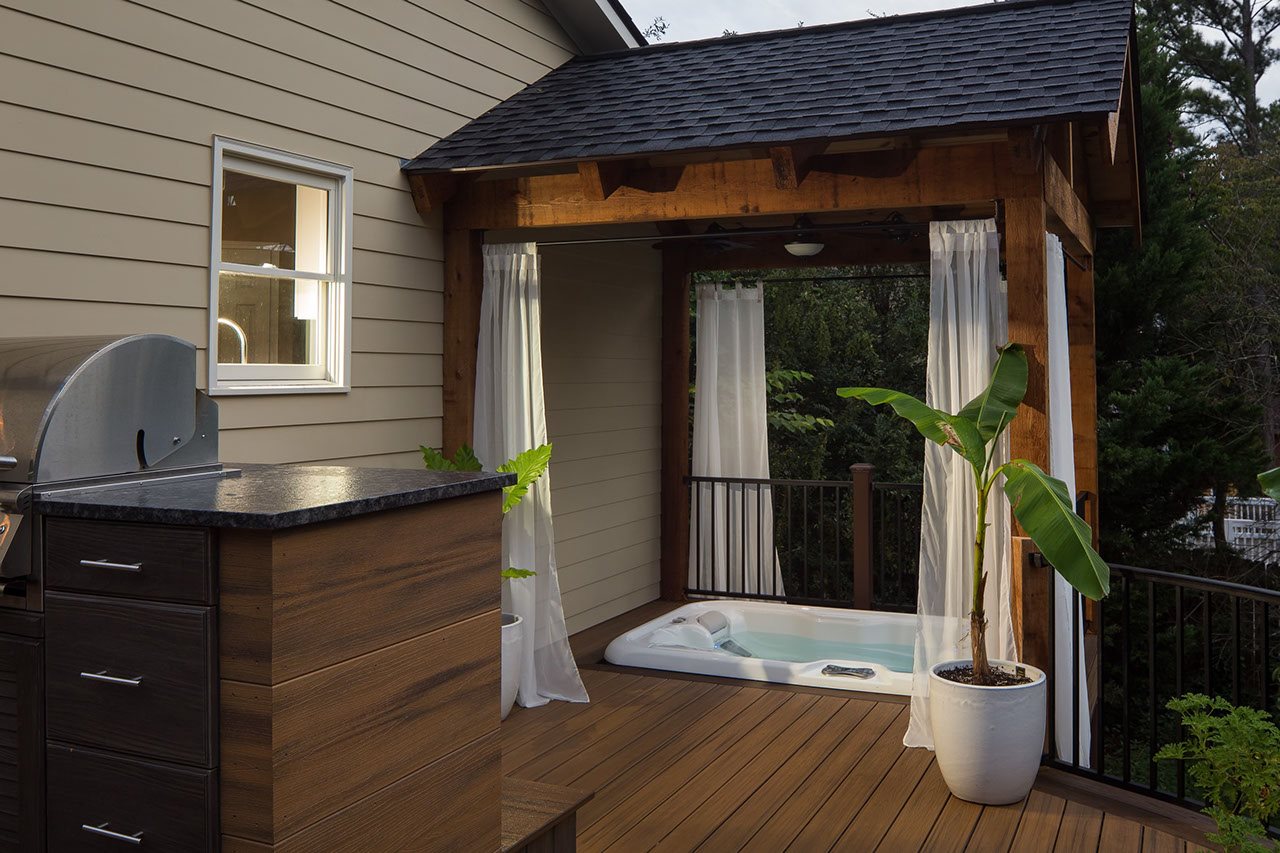
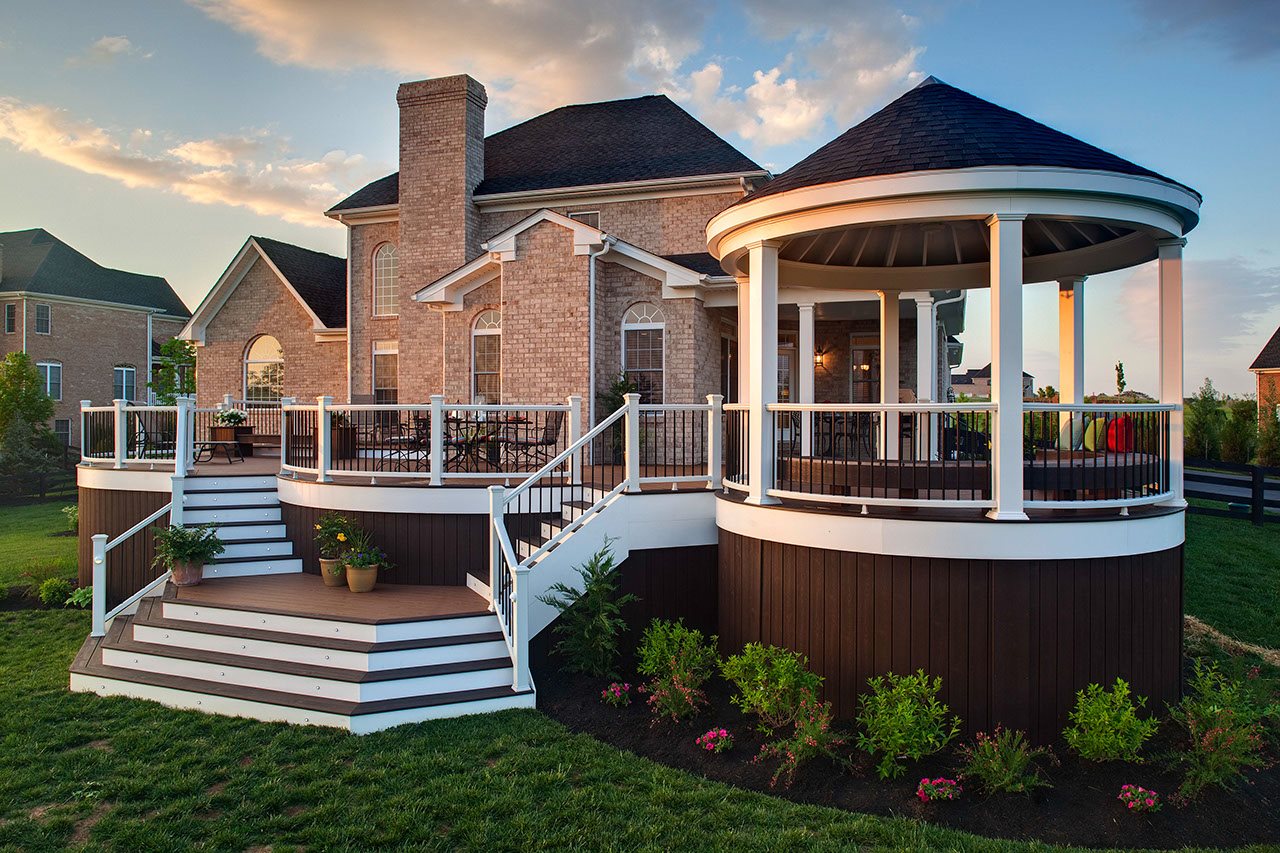
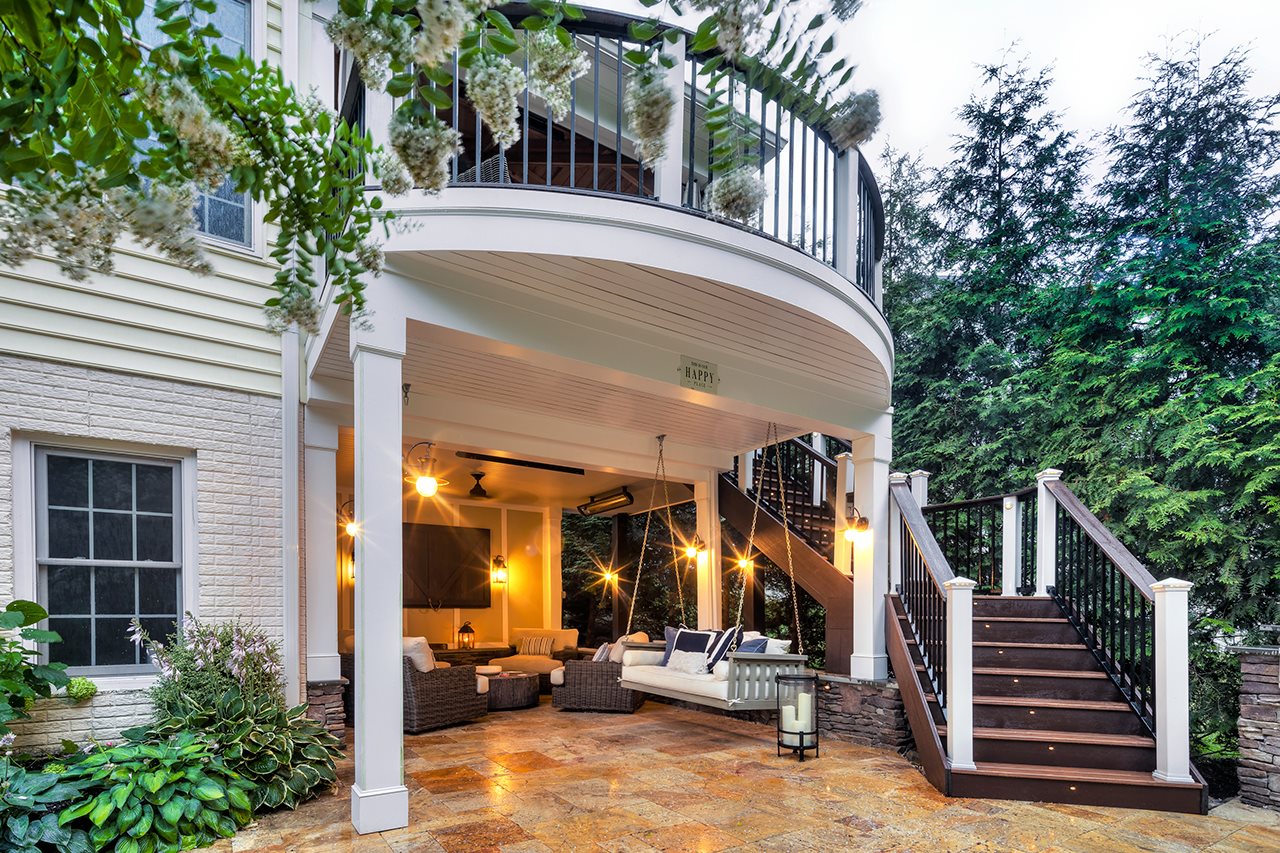
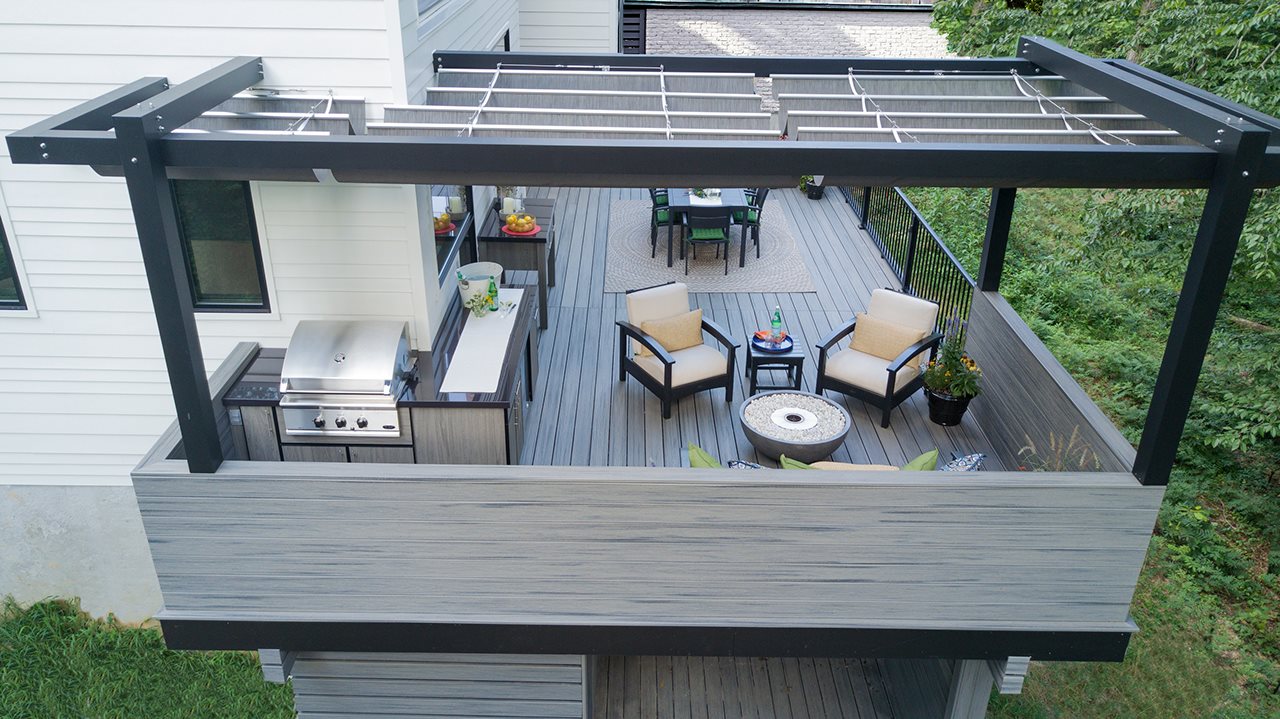
1. Maintain exterior wood
Whether for your deck, fencing or siding, wood sealer provides durable protection from water and sun damage.
When wood absorbs water, it swells, and as it dries, it contracts. Repeated cycles of expansion and contraction cause small cracks that grow over time. In cold climates, this cycle is worsened by seasonal freezing and thawing. Without protection, excessive moisture in wood also supports fungi that causes wood rot.
While sunlight doesn’t structurally damage wood, it will turn the upper layer of wood silver over time. Sunlight also affects stains and finishes, leaving wood more vulnerable to water damage. This is especially true in warmer, southern climates.
How to waterproof wood
High-quality wood stains protect decks for four to six years, and fencing and siding for five to 15 years. To see if re-application is needed, try the “splash test”: Sprinkle water on various sections of the wood. If water absorbs and darkens the color of the wood within five seconds, the surface should be treated. If water beads up on the surface, it doesn’t need treatment. Reapplication timing depends on climate, deck use and sealer opacity. More opaque stains like solid color wood sealers provide the longest protection.
Select a product with minimum required coats to provide year-round protection. You can choose solid color wood sealer, which adds the most color and shows the least wood grain, or transparent wood sealer, which adds subtle color and shows the most wood grain.
Before applying wood sealer, use deck cleaner to remove contaminants like dirt, oil and mildew. The wood surface should be completely dry before sealing, so it’s best to wait at least 48 hours after rain or cleaning. The air temperature should be above 50 degrees Fahrenheit during and for 48 hours after application. For best results, follow all instructions on the product.
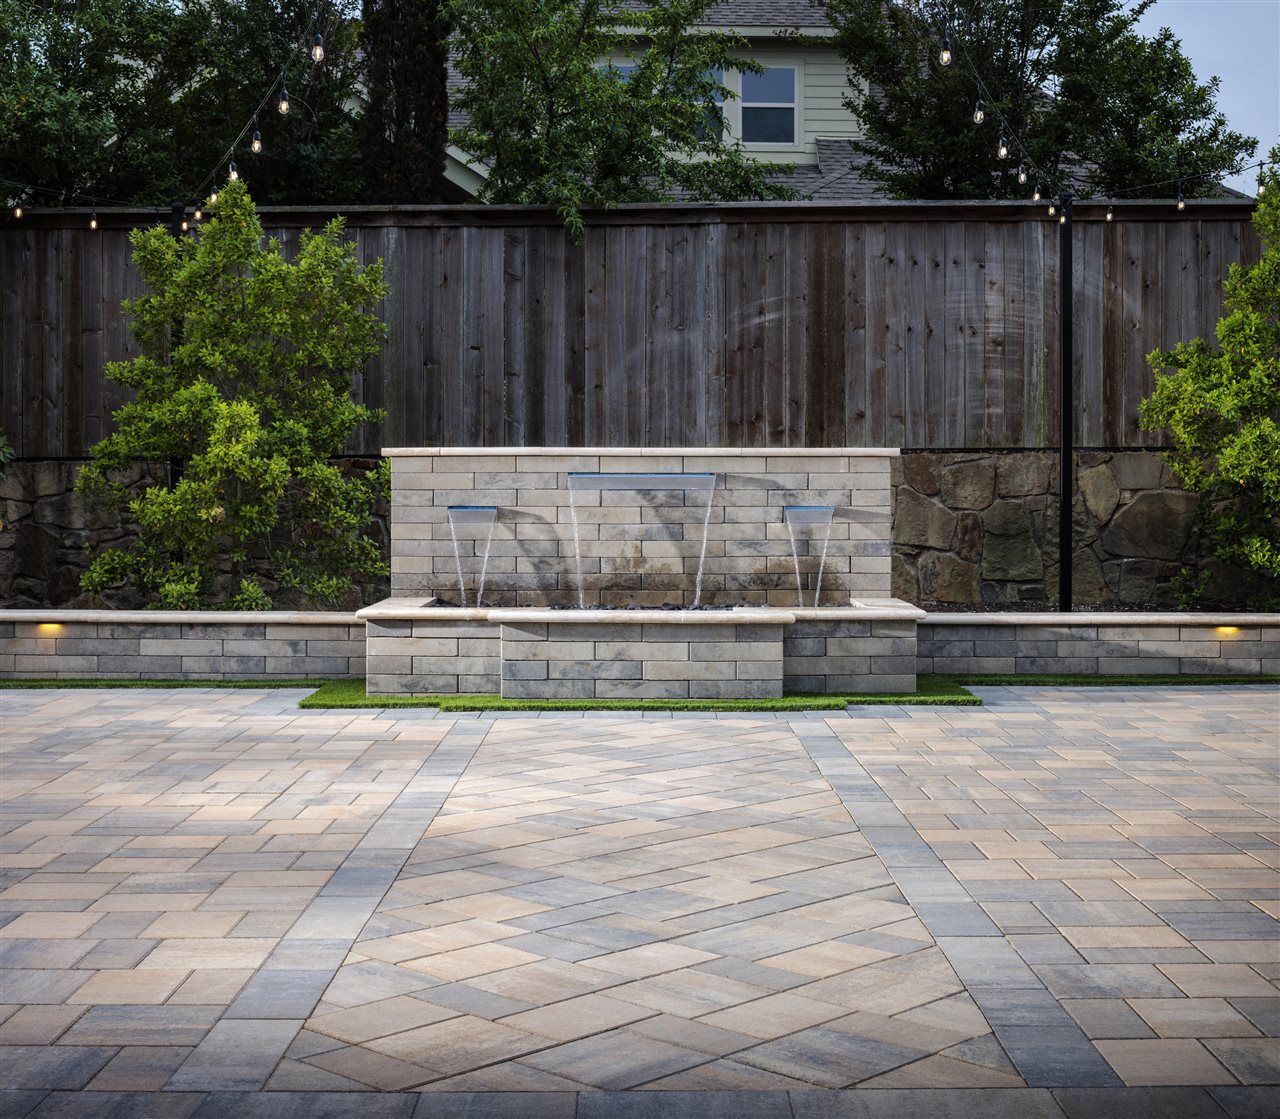
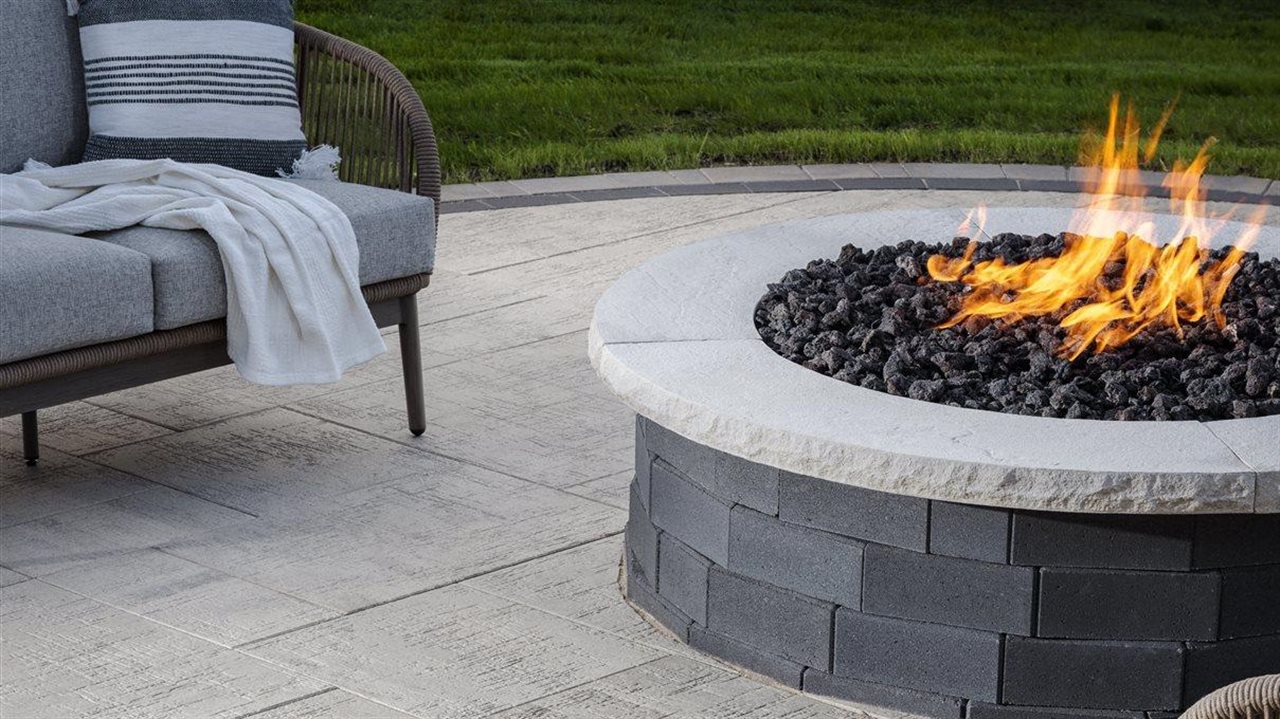
2. Consider your concrete surfaces
Although you might think concrete is indestructible, over time, weather conditions can take a toll. Waterproofed walkways and patios are stronger and last longer — reducing the need for costly maintenance and repairs.
Especially in climates experiencing freezing and thawing, waterproofing safeguards against moisture and helps prevent cracks. Waterproofing also helps protect against oil stains and other spills. Well-maintained concrete looks better, with minimal effects from weathering, fading, cracking, fungus and mold growth.
How to waterproof concrete
The length of protection varies depending on where you live. You can perform the “splash test” once a year to see if reapplication is necessary.
Choose a high-quality multi-surface waterproofer that can tackle exterior waterproofing needs including concrete. As with wood sealer, the surface and air temperature should be above 50 degrees Fahrenheit during and for 48 hours after application. Concrete should be thoroughly cleaned and dry for 72 hours before applying sealer.
Concrete with a smooth, flat finish must be opened first, using a concrete etch product. Follow instructions carefully for using and removing the etching product, as well as the concrete sealer.
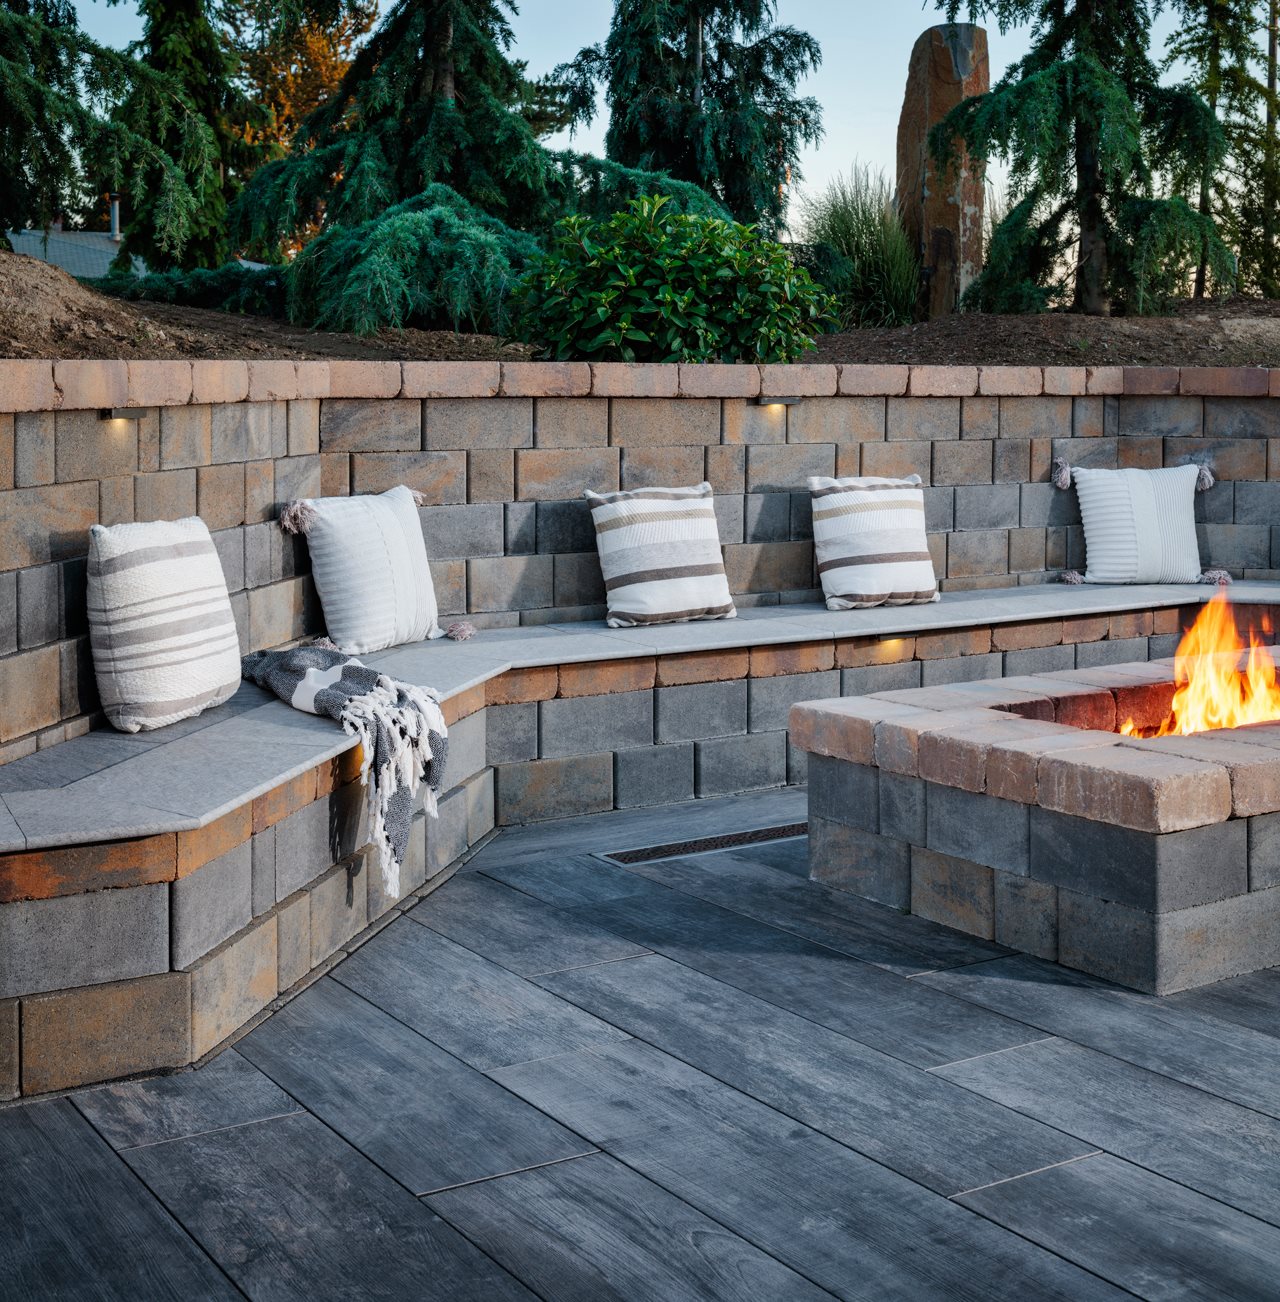
3. Protect brick and masonry
With brick or masonry (including stone), waterproofing helps protect it from environmental damage over time. Due to their porous nature, bricks are susceptible to water damage, including cracking or spalling (flaking or chipping due to subsurface cracks). Waterproofing also protects against mold.
How to waterproof brick and masonry
The length of protection from waterproofing will vary, depending on your climate. As with concrete, perform the “splash test” once a year to see if reapplication is necessary.
Use a high-quality, multi-surface waterproofer designed for exterior surfaces like brick. Your brick or masonry should be thoroughly cleaned and dried before applying sealer, and the outside temperature must be above 50 degrees Fahrenheit. Read and follow application instructions on your product.
4. Safeguard outdoor fabrics
If you use fabric elements for your outdoor spaces including cushions, pillows, umbrellas, canopies or shade sails, you’ll want to keep them looking great as long as possible. Waterproofing fabric helps prevent water damage and reduces color fading from the sun. It can also repel spills and stains, while allowing fabric to breathe.
How to waterproof fabrics
Reapply waterproofing annually, after every cleaning, and use a waterproofer designed for fabrics. First try a small patch, as waterproofer can darken fabric, and apply only on colorfast fabrics. Fabric must be clean and dry before applying waterproofer. Be sure to check the manufacturer’s care and warranty information before using on furniture and follow all product instructions carefully.
Caring for outdoor surfaces is crucial for maintaining your home’s appearance and value. Waterproofing helps keep all the elements of your home’s exterior — and the outdoor spaces you love — looking beautiful for years to come.