2024-01-31T10:01:00
(BPT) – Do you spend most of your time and energy focusing on your backyard for outdoor living? Most homeowners do, leaving the untapped potential of front and side yards unnoticed. What if you could bring the serenity and functionality of your favorite backyard features to the front or sides, creating even more inviting spaces that truly enhance your living experience?
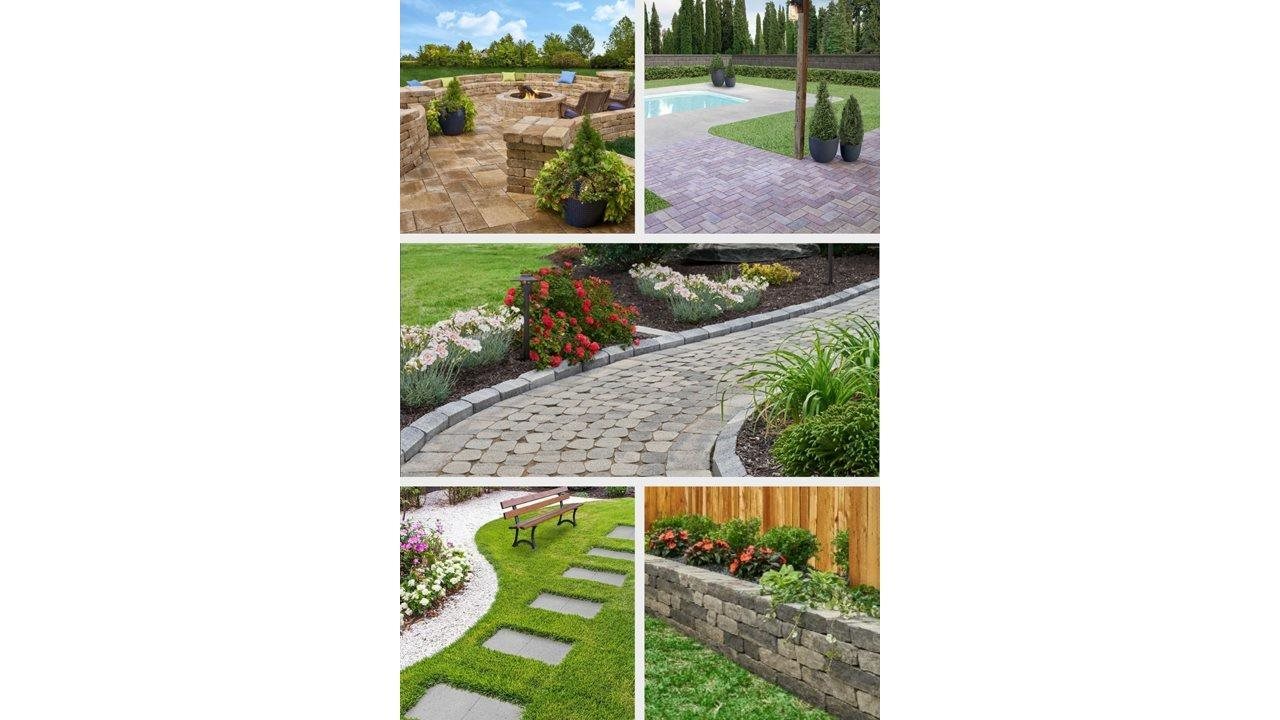
Here are five ways you can use Pavestone products to help you transform your home’s underutilized front and side yards, turning them into cozy retreats with enhanced privacy and functionality.
1. Embrace front yard retreats
Functional elegance: Elevate your front yard with Pavestone retaining walls that not only level uneven terrain, but also add a touch of elegance. These walls can create intimate spaces for relaxation or gardening, effectively bringing the charm of backyard terraces to the front of your home.
Privacy walls and hedges: Retaining walls work well as a base for privacy hedges, which can create secluded areas that are shielded from street view. Alternatively, you can build gravity walls (that do not support the weight of ground retention) as a purely visual block from outside eyes. Both additions bring a sense of tranquility to your front yard, making it a private oasis.
2. Create welcoming walkways
Curb appeal redefined: Swap out conventional concrete with Pavestone pavers to redefine your front or side walkways. Choose warm tones and intricate patterns to enhance the visual appeal, welcoming guests with a stylish entrance that mimics the coziness of backyard pathways. Pavestone’s Luna™ pavers make this a quick and easy project, as many designs don’t require cuts.
Create secluded nooks: Use pavers and well-placed landscaping to create small, secluded nooks in your front yard, providing private spaces for reading, contemplation — or simply enjoying the fresh air.
3. Enjoy outdoor living out front
Fire pit elegance: Installing a Pavestone fire pit kit made of Ladera® wall block in your front yard will bring the warmth and charm of backyard gatherings to the front of your home. This not only adds a new focal point, but also makes your front yard a welcoming space for family and friends.
Grill islands for al fresco cooking: Integrate Pavestone RumbleStone® grill surrounds to craft a designated outdoor cooking area in your front yard. This practical addition not only enhances functionality, but also adds an extra touch of luxury to your outdoor space.
4. Sit and talk — or relax — a while
Privacy-enhancing seat walls: Consider using Pavestone’s RumbleStone to create secluded seating areas along the sides of your home. These walls not only provide comfortable seating, but also act as privacy screens, transforming your side yards into more intimate spaces.
Bench kits for cozy corners: You can incorporate Pavestone RumbleStone bench kits in corners or against walls to create cozy nooks for relaxation or conversation. These benches can easily turn any area of your yard into a private retreat.
5. Let water wash your cares away
Front yard fountains: Introducing water features like fountains or water walls will bring a feeling of peace and tranquility to your front yard. The gentle sound of flowing water and visual appeal of these features can transform the space into a serene oasis, all while enhancing privacy.
Using these hardscape projects, you can expand the allure of backyard living to your front and side yards, adding more value, usefulness and aesthetic appeal to your entire outdoor space.
Whether through retaining walls, pavers, fire pits or grill surrounds, these elements not only add functionality but also create private sanctuaries that redefine the notion of front or side yard space. Embrace the opportunity to turn any area of your yard into a welcoming haven, showcasing the potential for beauty and privacy in every corner of your home — inside and out.