2023-05-04T08:01:00
(BPT) – After a wild weather ride across the country, everyone is ready to welcome the beautiful summer months. Is your home and yard ready, too? If not, there’s no better time than the present to create a to-do list and get things done so you’re ready to enjoy your best life in your best home.
In honor of National Home Improvement Month, consider this top 13 list of important tasks for homeowners from the experts at Neighborly® — the world’s largest home services company with more than 30 brands and 5,000 franchises that collectively serve more than 12 million customers.
Clean your air conditioner: Start by looking over your outdoor condenser unit and clearing away external debris, such as leaves and dead branches. Special brushes and cloths are required to clean the coils on your air conditioner’s condenser unit to ensure safe and effective debris removal. Attempting to do this yourself could result in damage, so instead schedule a tune-up from a company like Aire Serv® so you know the job will be done right and you’ll be ready when the temperatures climb.
Repair garage door springs: Is your garage door getting noisier or something seems off? Garage door torsion springs are under tension and may require repair or replacement. While it can be tempting, doing this yourself can be dangerous to you and may damage your home. Contact a local Precision Door Service® professional who can inspect the situation, and if needed, use the correct tools and processes to fix any issues or replace the garage door.
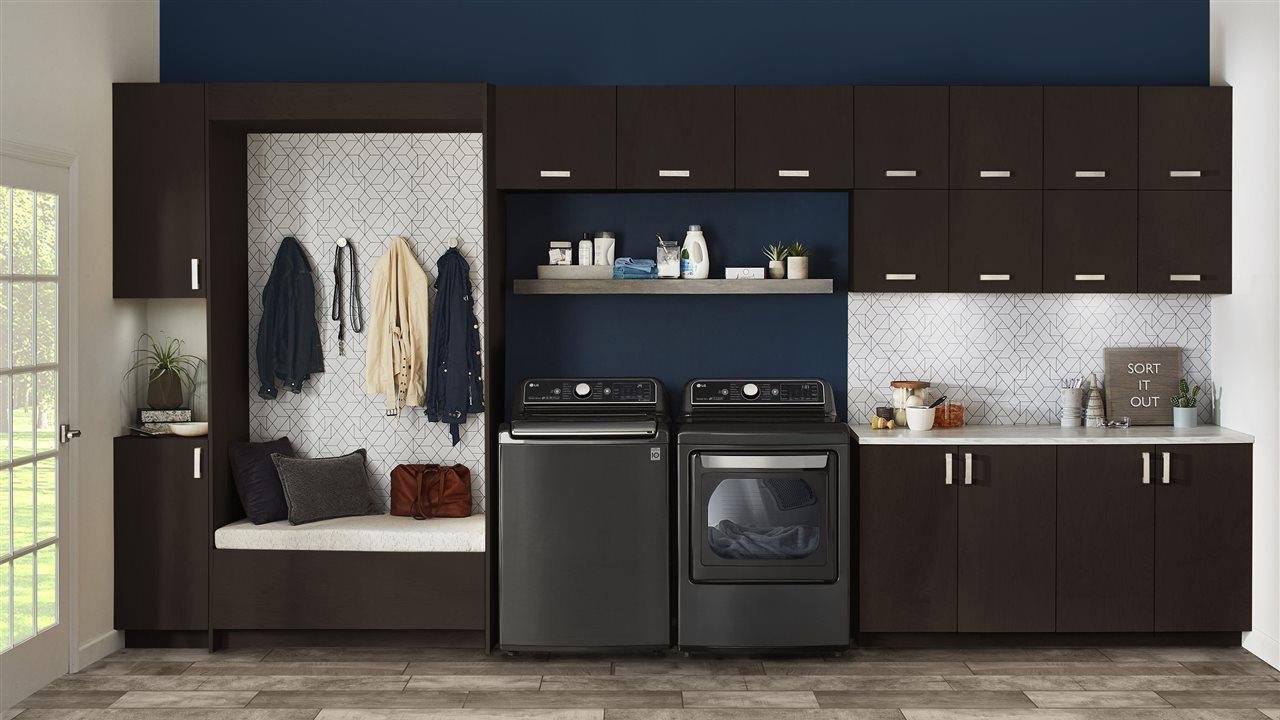
Clean your dryer vents: Many homeowners don’t realize the importance of hiring someone to clean or repair dryer vents. Unkempt dryer vents can lead to fires or the buildup of toxins, mold and bacteria. You can protect your family and home by getting a professional inspection of your venting system and scheduling yearly cleanings from a company like Dryer Vent Wizard®.
Introduce a new shade of paint: A fresh hue can add a new look and feel to any space, indoors and out. Painting kitchen cabinets, interior walls or exterior trim are some examples. Some people enjoy painting and have the knowledge and time to do it themselves, but remember, painting the right way is a multistep process that requires expertise for things like picking the right paint, brushes, finish, coverage, primer and other details. If you’re unsure, call the painting professionals from Five Star Painting® for results you’re guaranteed to love.
Get creative with new storage solutions: Organization is an important part of spring cleaning that can make your home more streamlined. Creating highly organized spaces in your home is important, but to make them more useful you need to go beyond the basics. Consider working with professional designers from ShelfGenie® who can create custom solutions for every room in your house, leaving a lasting impact on the efficiency and value of your home.
Think green when you spring clean: Spring cleaning can be green and health-conscious with green tips from Molly Maid®. Creating your own all-purpose cleaner with essential oils, vinegar and baking soda can help reduce toxicity in your home. Being mindful of water use while doing laundry, scrubbing floors and doing dishes can also help keep water usage down. Microfiber dusting cloths can help you use less water and fewer paper towels — an earth-friendly win!
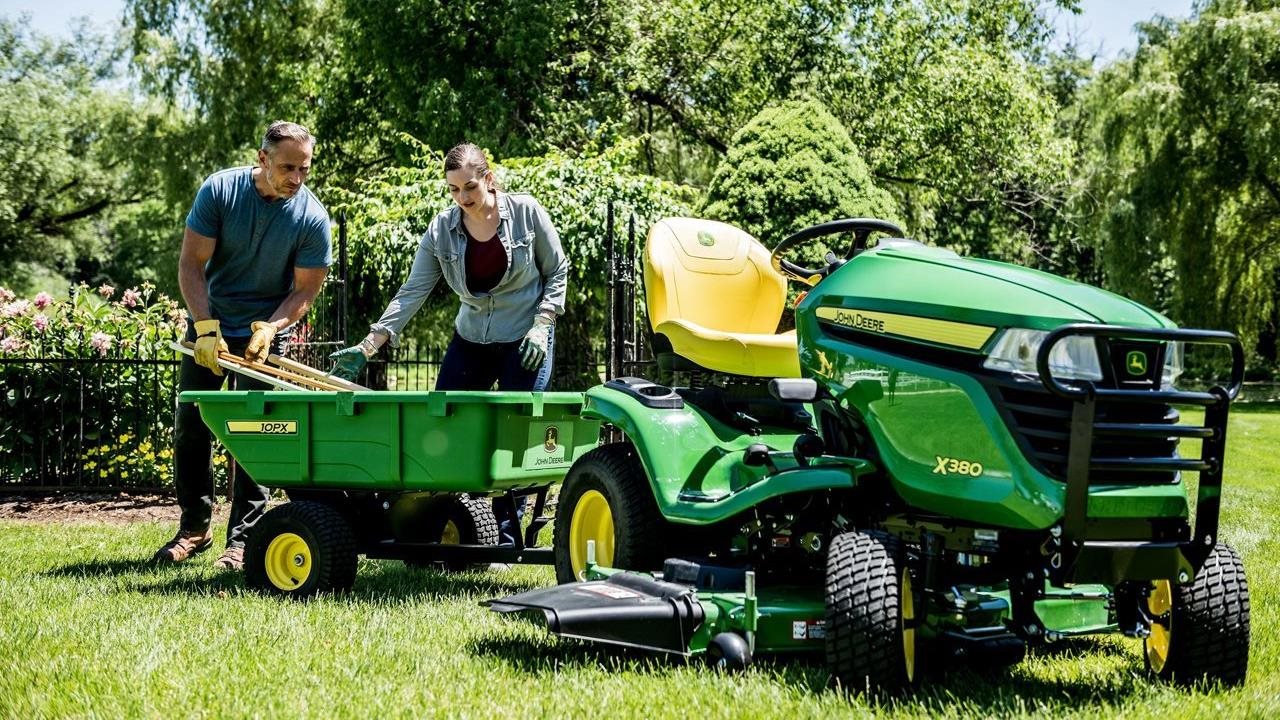
Revitalize lawn and update landscaping: Is your yard looking a bit drab? Consider completing tasks like trimming overgrowth, fertilizing grass and installing landscaping. Preventative measures are also important, such as adding weed barriers and treatments. Need assistance with any of these tasks? The Grounds Guys® can help make your yard the envy of the neighborhood.
Clean windows and your home’s exterior: Your home’s windows are your eyes to the outside world, but they can get dirty over time along with your home’s exterior. While cleaning the inside of your windows may be easily accessible, the outside of the windows can be more difficult, not to mention that cleaning different types of siding can be complex. Consider hiring Window Genie® to do the job for you and make your house shine.
Have your yard sprayed: No one wants their outdoor event to turn into a flurry of swatting or slapping away bugs. If you’re looking for an effective way to keep insects from ruining your outdoor fun, the experts at Mosquito Joe® will spray your yard in specific areas where mosquitoes like to hide and breed to help make your outdoor event more enjoyable.
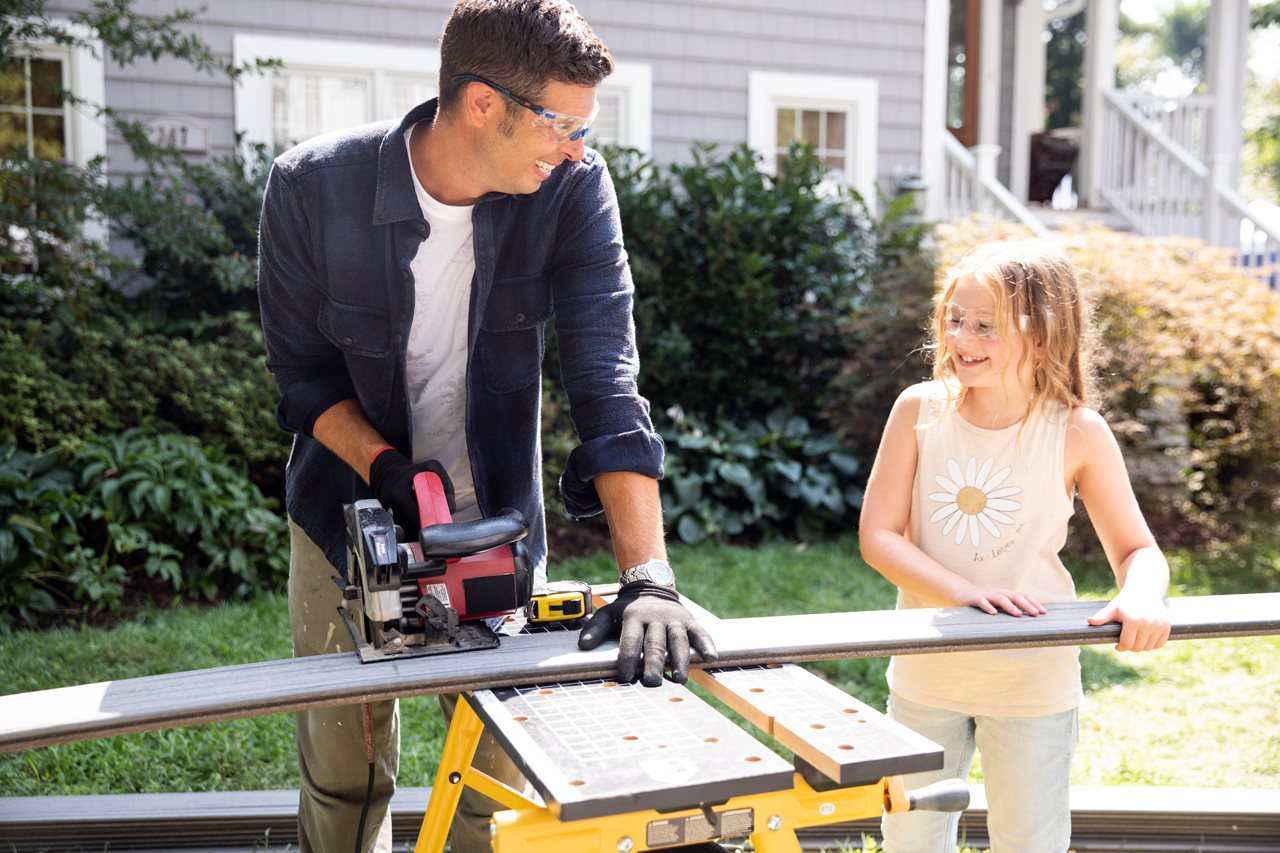
Deck repairs and installation: Spring is the ideal time to inspect your deck for loose or rotting boards and other damage that can happen over time. You can opt to make repairs or perhaps you’ll decide to build a new deck. Either way, a deck is an important investment in a home’s value, and you want it to be attractive and safe, so it’s best to work with a professional. Mr. Handyman® is an expert at framing, decking, railing, staining and other areas of the project.
Make wiring upgrades: Want to add some new lighting to your deck or patio? Or, maybe you’ve noticed some existing wiring that’s frayed and in need of repair? Modifying or replacing electrical wiring can be extremely dangerous and lead to injury or fire damage. Stay safe and ask a qualifed electrician from Mr. Electric® to upgrade or replace your home’s wiring.
Repair your oven or stove: DIY oven or stove repairs can have serious consequences like gas leaks and fires. This is especially common with gas appliances, so if you have these units, it’s best to let expert service technicians provide an effective, long-lasting repair while keeping your home safe. Check out Mr. Appliance® for help with oven and stove repair.
Bonus tip for your vehicle: Many new vehicles have an Automatic Emergency Braking (AEB) system, a feature that reduces the likelihood of your vehicle running into the car in front of you. Be aware that even a minor crack can degrade the level of clarity the system needs to operate effectively to help prevent accidents. If your windshield is damaged or broken, trust the auto glass specialists at Glass Doctor® to repair your windshield and calibrate your systems.
Remember, everyone is different in their desire and abilities to do these tasks. That’s why expert help is available if you need it. Through Neighborly.com and the Neighborly mobile app, you can find trusted local service providers that meet rigorous franchisor standards so you can feel confident no matter which job you need to be completed.