2018-04-17T10:01:00
(BPT) – The backyard. It’s your oasis. Your happy place. Your second living room. It’s the place to go not only for “me” time — but quality time with friends and family.
This National Barbecue Month, the Hearth, Patio & Barbecue Association wants to help you make your backyard the best backyard it can be.
Think sheds. No, not your grandparents’ tattered shed filled with a dusty mower and 30-year-old paint brushes. We’re talking highly personalized sheds. Intimate covered spaces that keep the sun’s rays out but bring the summer in.
Outdoor sheds come in all shapes and sizes and can be personalized to fit within all types of lifestyles. From fun-filled tapsheds where friends gather for a margarita and grilled salmon to an intimate she shed stocked with wine and cheese or even a hobby shed for the family to play board games while munching on braised ribs and root beer, sheds can do it all.
Building a personalized shed can be a daunting task. Consider these five tips to help you create your ideal outdoor oasis just in time for summer:
1. Have a plan: Are you starting from scratch or cleaning out an existing old shed? What’s the theme? What’s the budget? What’s the goal? How much room do you have to work with? Before you start building your shed, make sure you have a plan in place. You may be eager to jump right in but it’s much easier to follow a well-laid plan than to make decisions on the fly.
2. Stick to a theme: A craft shed, a relaxation shed, a party shed — there are so many options when it comes to creating your perfect shed. Choose one theme and tailor all decisions around your theme of choice. For example, if you decide to go with a relaxation shed, choose calming colors and peaceful decorations.
3. Utilize your resources: Your shed is a part of your outdoor space and you should utilize all the free beauty that nature has to offer when it comes to decorating your shed. Build your shed under your favorite tree to offer natural shade or decorate your shed with dried flowers or vines.
4. Less is more: When designing an outdoor shed, it is easy to go overboard. Remember to keep it simple and that you want to have enough room to entertain guests and to hang out in your shed. Keeping things minimal will also ensure you stay within your budget.
5. Remember the exterior: One easy way to customize your shed is with a coat of paint. Choose a paint color that goes with your theme. Then invite friends and family over for a day of painting fun in the sun.
For more tips on making the most of your backyard, visit www.hpba.org.


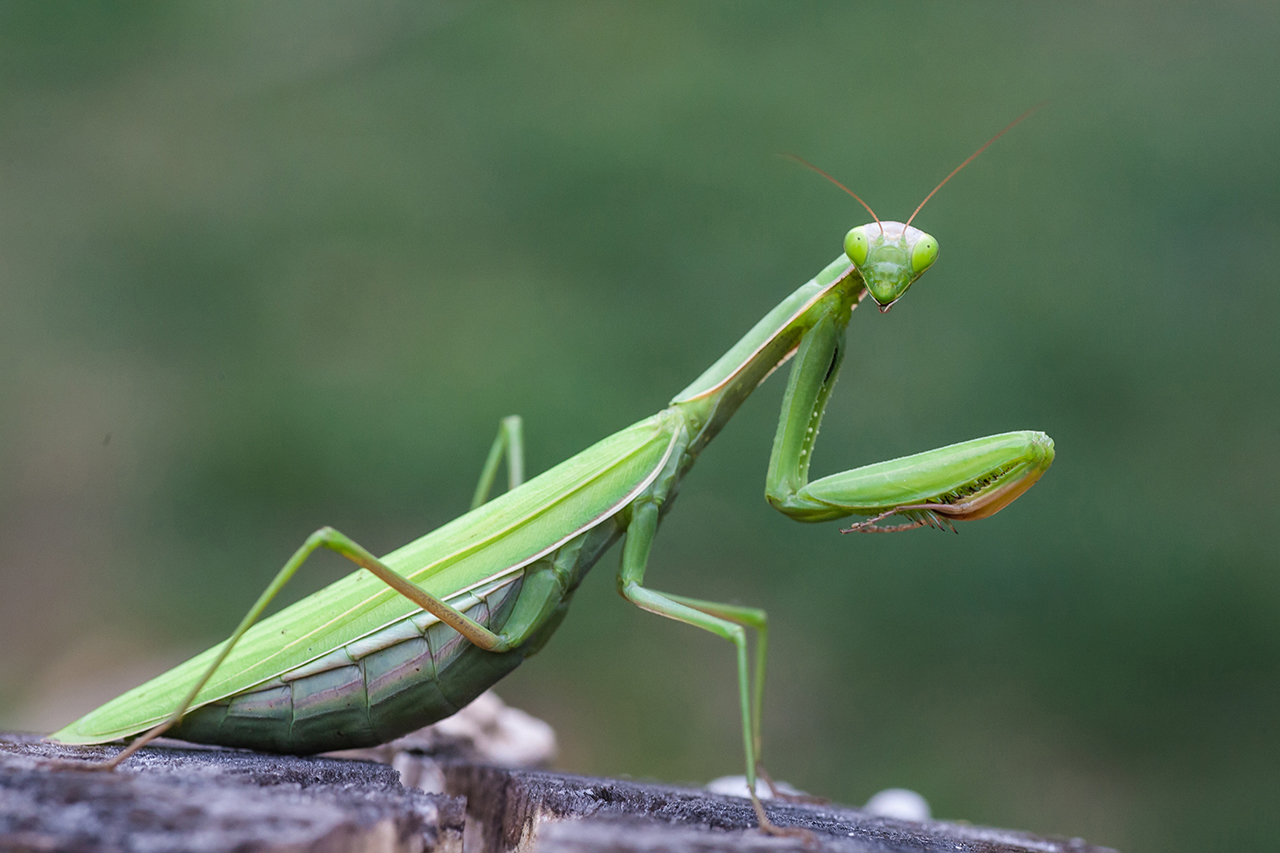
 1. Praying mantis: Love bites