2020-06-25T10:41:00

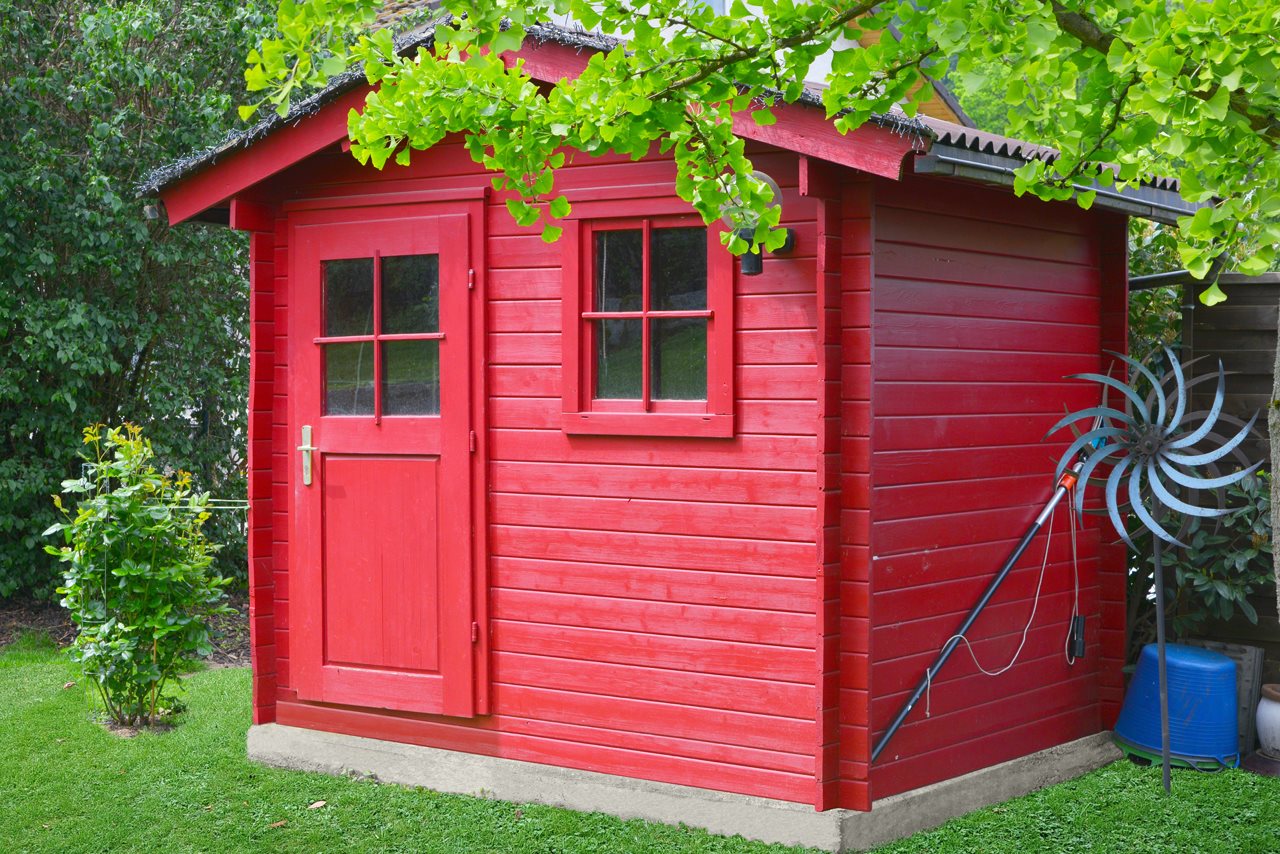
(BPT) – Sheds are a storage staple for homeowners, offering a place to put lawn equipment and seasonal items like gardening supplies. A shed can help clear out garage clutter, streamline organization and expand living space. However, today’s sheds go far beyond utilitarian use.
While some people continue to build sheds for practical purposes, others are embracing sheds in ways that dramatically enhance their lives. Sheds can become dedicated spaces for hobbies such as woodworking, pottery or painting. They can also be transformed into elaborate playhouses for children. Sheds can become meditation retreats, workout studios and so much more. Whether it becomes a “man cave” or a “she shed,” this small space has big potential.
Demand is high, with the outdoor storage products market in the United States predicted to total $1.6 billion in 2023, according to Shed Builder Magazine. This growth is supported by lifestyle trends including increased outdoor living, higher participation in gardening activities and more active lifestyles that require storage of bulky gear.
COVID-19 is likely to have an influence on homeowners’ desire to build sheds as well. As more people spend time at home, they are enjoying their properties to the fullest while also wanting to create spaces to call their own. They are finding renewed interest in hobbies or discovering new activities that require space to enjoy.
No matter the reason for building a shed, it can be a great way to improve your property while also increasing its value. In fact, according to Remodelingcosts.org, you can expect anywhere from 50-80% return on investment when you add a shed. What’s more, extras like a shed can help your home stand out in a competitive housing market.
Sheds can be designed to fit a homeowner’s needs, yet whether fancy or basic, there’s one critical element every shed must have: a strong foundation. Mixing, pouring and finishing the concrete is critical to ensure a solid foundation and lasting investment. Follow these expert tips from the pros at Quikrete to do the job right. Visit www.quikrete.com for more information and to watch an instructional video.
Concrete slab instructions
Before starting, research local building codes and follow as necessary. When working with cement-based products, always wear eye protection and waterproof gloves.
Step 1 (prior to placing concrete forms): Outline the area to the desired slab dimensions with spray paint. Excavate the slab area to a depth of about 7 inches, allowing 3 inches for a gravel base and 4 inches for concrete. Construct the form with 2-by-4 or 2-by-6 lumber and secure in place by wood stakes and deck screws.
Step 2: A solid sub-base will help prevent erosion and slab settling. Evenly spread 3 to 4 inches of Quikrete All Purpose Gravel and then level the gravel.
Step 3: Compact the gravel base using a tamper.
Step 4: Dampen the gravel base using a garden hose to prevent shrinkage cracking, especially in hot temperatures.
Step 5: Pour the concrete mix in evenly placed leads; the top of the concrete mounds should be about 2 to 3 inches above the forms before leveling.
Step 6: Consolidate and distribute the concrete evenly using a hoe. The surface of the concrete should be relatively flat and slightly above the form.
Step 7: Screed (level) the concrete using a straight 2-by-4 by moving the board back and forth across the surface of the concrete in a sawing motion to remove the excess concrete and smooth the surface.
Step 8: Check for level, and add concrete to any low areas and screed as needed.
Step 9: Once the concrete has lost its sheen, smooth the concrete surface using a wood float in an arching motion. Note: Pull a stiff-bristle broom across the concrete for a non-slip surface being sure all strokes are made in the same direction or finish with a steel trowel for a smooth surface.
Step 10: Cut in control joints using a groover and straight-edge (a 4-inch thick slab will require control joints a minimum of every 10 feet in each direction). Note: control joints should be cut a minimum of 1/4 inch the depth of the slab.
Step 11: Use an edging tool to consolidate and shape the edges of the slab. Several passes should be made in each direction for a smooth finish.
Step 12: Freshly placed concrete should be water cured for a minimum of 3 to 5 days with a fine water mist. Water curing can be eliminated by applying Quikrete Acrylic Concrete Cure & Seal immediately after finishing the concrete. Acrylic Cure & Seal can be applied with a roller, garden sprayer or a brush.

