2018-06-29T07:01:01
(BPT) – Think about your favorite moments and memories from past summers. The time you spent with family and friends, dining, playing games or simply enjoying one another’s company. Now, ask yourself this: How many of those summer memories took place outside, on the deck?
The deck is the perfect spot for summer get-togethers and events. However, if yours is in need of a facelift or a complete re-do, now is the perfect time of year to complete a new outdoor living space customized to fit your needs. A new wood deck can add value to your home, but be sure to choose the right wood products to build it. Thus, the question becomes: What type of wood do you use? When do you use ground-contact and above-ground, pressure-treated wood?
If you don’t know the answer to these questions, don’t worry. This article can help you determine what type of wood you need to use and where. Follow this guide from Viance and you’ll be on your way to building the deck of your dreams.
Ground-contact wood
As its name implies, ground-contact wood often forms the foundation of your project and may include the support posts placed in or on the ground, in concrete or in fresh water. Ground-contact should also be used whenever your wood pieces will be installed less than 6 inches off the ground, such as a ground level deck.
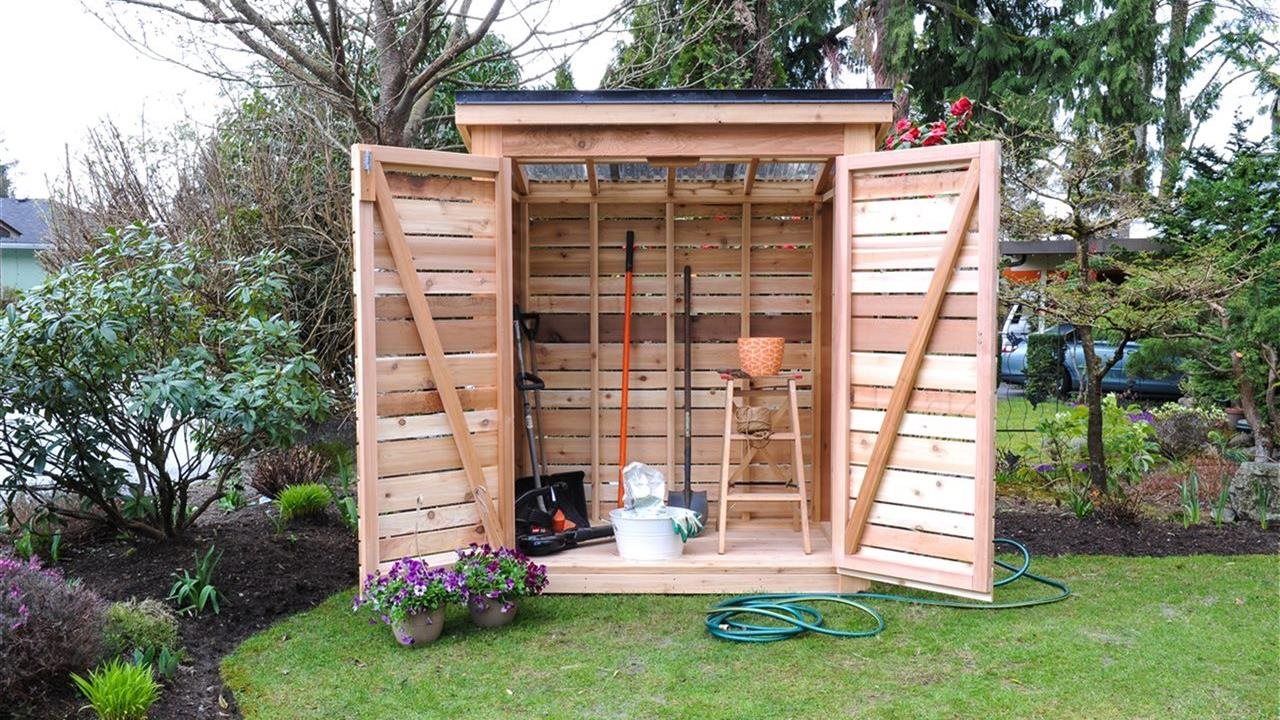
Ground contact wood earns this designation because it has been specifically treated to protect against fungal decay and termite attack at and below the ground’s surface. For your deck project, ground-contact, preservative-treated wood should be used for ledger boards, stair stringers and support posts. Other landscaping projects, like garden boxes, landscape walls and anything else that may be built in or on the ground, should use ground-contact, preservative- treated wood.
Above-ground wood
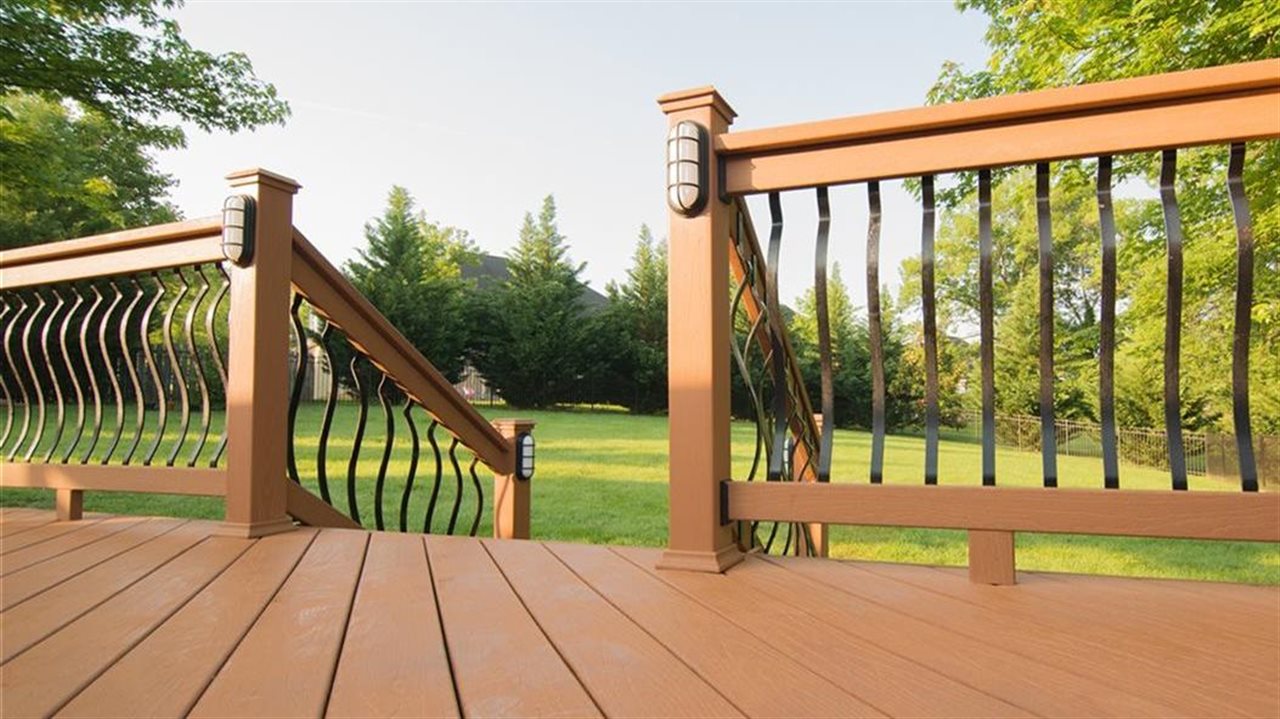
Above-ground wood is the other major designation, and this is the wood type you will use to build the majority of your deck. You can use above-ground treated wood for locations that are easy to maintain and repair, quick to dry and where ample air flow around the wood is possible. On most decks, this will be your deck boards, guardrails, balusters, joists and beams. Above-ground wood uses less preservative chemicals than ground-contact wood, and in newer preservative systems like Ecolife, it provides added benefits that can repel water, minimize cracking and keep boards straighter. Above-ground wood is also the ideal choice for many outdoor projects including arbors, trellises, lattice, decorative posts, trim boards and fence pickets.
If the wood will be more than 6 inches from the ground, above-ground wood is the ideal, and most economical type of treated wood to use.
Finding the right wood for your deck today
No matter the dimensions of your deck, chances are you’ll use a combination of ground-contact and above-ground, pressure-treated wood. Applying the guide above can help you determine which wood type you need for each phase of your project, but quandaries could still arise. If you ever have questions, you can find answers at treatedwood.com and learn more about EcoLife and Preserve pressure-treated wood, sold in lumberyards across the country and under the Severe Weather brand at your neighborhood Lowe’s store.